This tutorial gives step-by-step instructions on how to install a free SSL certificate for your website hosted on GoDaddy Windows Hosting (Plesk).
As we wouldn’t have direct access to the shared hosting server, we will generate the SSL certificate manually on a Linux machine using the following tools:
- certbot – LetsEncrypt
- dig
OS: Ubuntu (20.04)
Click here on how to install certbot?
Assuming that you have certbot installed. Let’s get started!
The Steps
1. Launch the terminal in Ubuntu and type the following command
sudo certbot certonly --manual --preferred-challenges dns

Challenge is a way to ensure that you have the custody of the domain name for which you are creating the SSL certificate.
There are two types of challenges – dns & http. I preferred the dns challenge as setting up http challenge didn’t work for me through GoDaddy Plesk as I kept getting “Not Found” error when trying to access it. You can read more about the “http” challenge here.
When using the dns challenge, certbot will ask you to place a TXT DNS record with specific contents under the domain name consisting of the hostname for which you want a certificate issued, prepended by _acme-challenge
DNS challenge didn’t work the way it has been described in the letsencrypt documentation. We’ll talk about it shortly.
2. Enter your domain name
As you run the command from step 1, you’ll be prompted to enter your domain name.

If your domain name is set to be accessed as www.example.com then enter it with “www” when prompted, else if it is set to just example.com then as is.
3. “Are you OK with your IP being logged?”
Type “Y” and proceed.

4. Deploy a DNS TXT record for your domain name.
Copy the generated value to be deployed as DNS TXT record.
“- – – – – – – – – – – – – – – – – – – – – – – – – – – – – – – – – – – – – – – –
Please deploy a DNS TXT record under the name
_acme-challenge.www.example.com with the following value:
FzvbRHWLv7w***********************************
Before continuing, verify the record is deployed.”

5. Sign-in to GoDaddy
Go to My Products -> Domains List -> DNS.
Click “Add”.
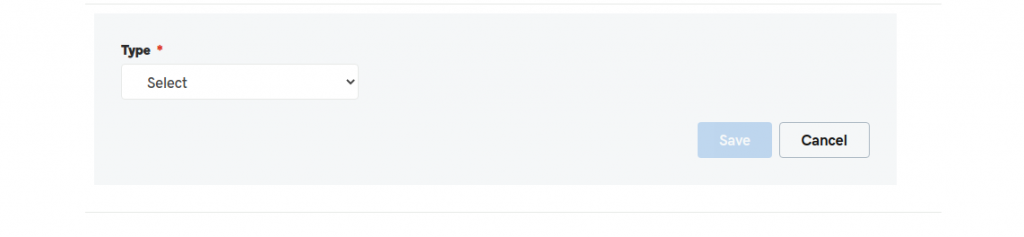
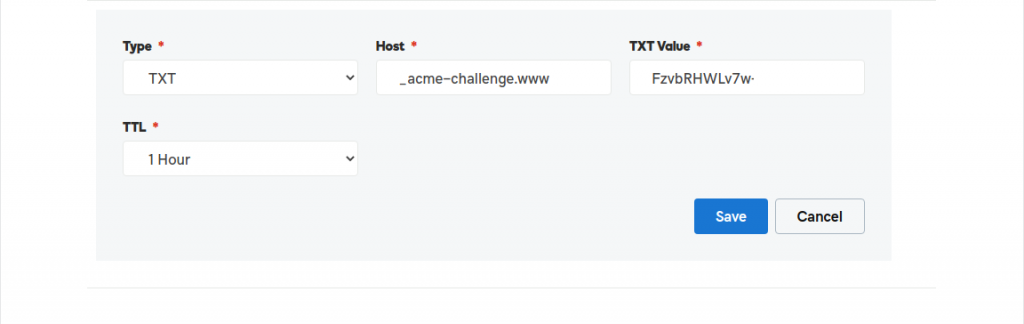
6. Adding TXT record
If your domain setting is such that it starts with “www” then give the DNS entry as follows:
Host: _acme-challenge.www
TXT Value: FzvbRHWLv7w*****************************
Do not give complete domain name in the “Host”.
If you’re setting up a domain that starts as example.com then give the DNS entry as follows
Host: _acme-challenge
TXT Value: FzvbRHWLv7w*****************************
In the documentation it is mentioned to add the domain name, but it didn’t work for me. So, no need to give the complete domain name in Host.
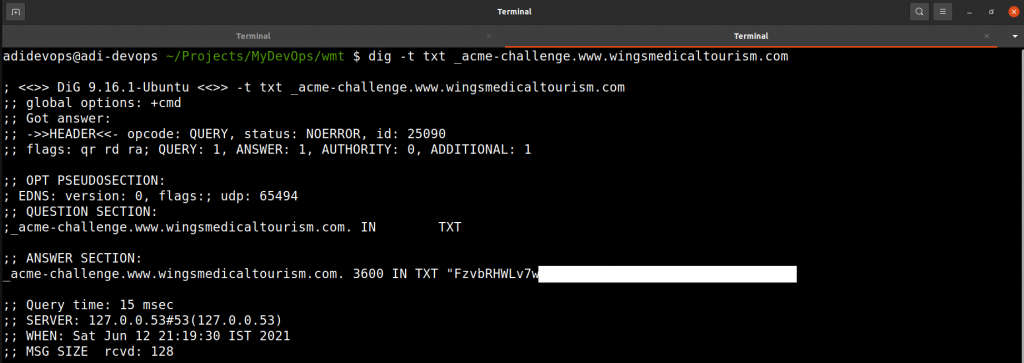
7. Using dig utility (Not a mandatory step, but an important one to avoid rework)
It takes a few seconds/minutes for the TXT record to get updated. To test whether it has been updated or not “dig” utility comes in handy.
Run the following command:
dig -t txt _acme-challenge.www.example.com
Run this command a few times and once the TXT record is updated you will see the retrieved value.
8. Press Enter to Continue – Certbot
In case you skipped step 7, ensure that you have waited enough before proceeding. In case the TXT record has not been updated, you’ll have to start from step 1 again. 😊
Flip back to the terminal where you’d executed the certbot command.
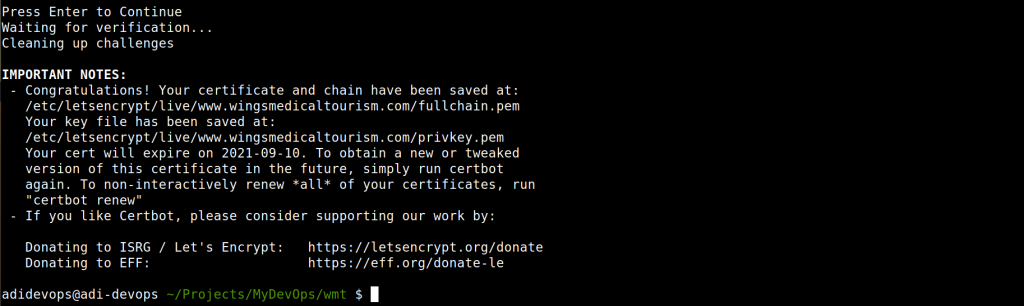
Press Enter
Once you do this, the validity check will be carried out and if successful the certificates will be generated at the following location:
/etc/letsencrypt/live/www.example.com/
Access the path as root. (sudo su)
9. The final files

The two files that we’d use are
- fullchain.pem
- privkey.pem
10. Head to Plesk Admin
Navigate to website & domains.
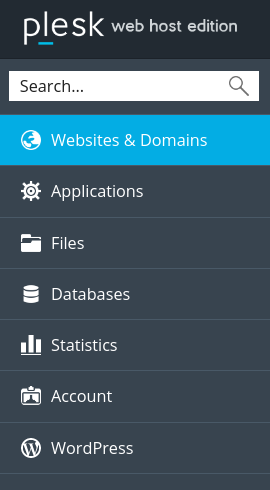
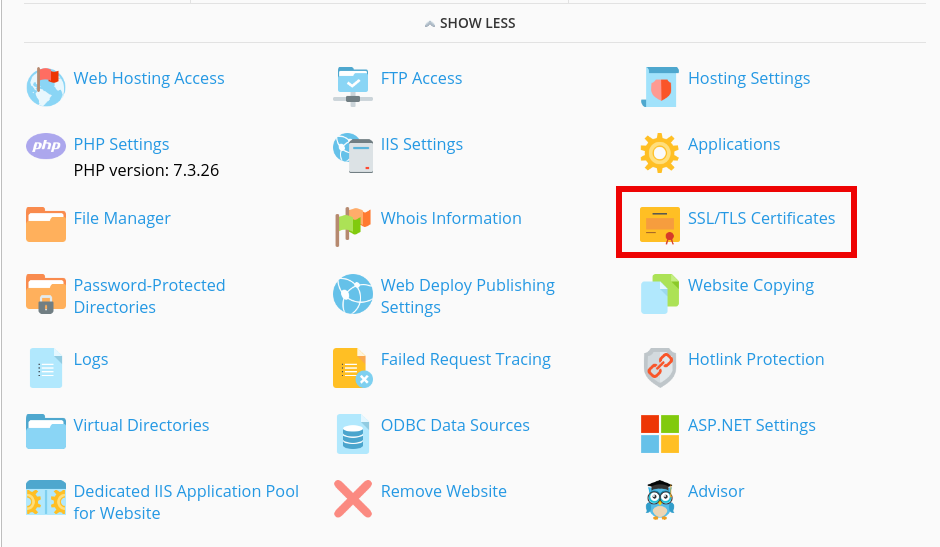
Go to your website details
Click “SSL/TLS Certificates”.
Click “Add SSL/TLS Certificates”.
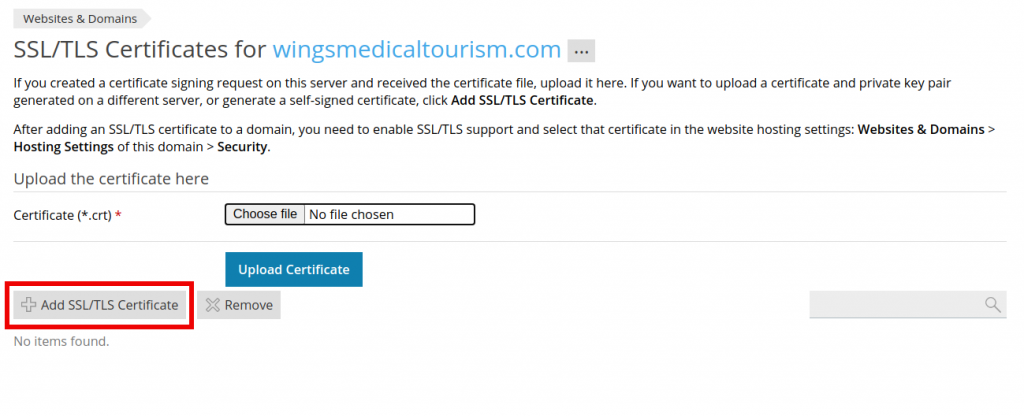
Enter a “Certificate Name”.
You can give any custom name.

Scroll down to the Private Key* section and paste the entire content from your privkey.pem file in it. (Include ——BEGIN PRIVATE KEY—— and ——END PRIVATE KEY——-)

Paste the content from fullchain.pem in the text box Certifcate(*.crt) * (Include —–BEGIN CERTIFICATE—— and —–END CERTIFICATE——)
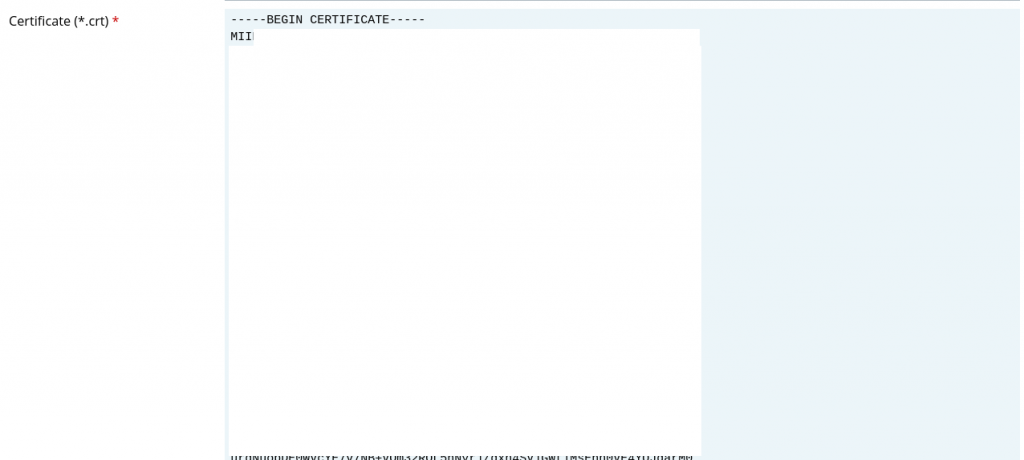
Click “Upload Certificate”.
Upload Successful.

11. Selecting the added SSL certificate
Navigate to “Hosting Settings” under “Websites & Domains” for your website

Go to “Security” section.
Check the SSL & Permanent redirect checkboxes.
From the “Certificate” dropdown, select the newly created SSL certificate and scroll down to click “Apply”.

12. Your SSL Certificate enabled website
Go to your website and see the padlock icon near the domain, the SSL certificate is now enabled.
Before:

After:

13. Delete the TXT record from GoDaddy DNS settings
Don’t forget to delete the TXT record that you added in Godaddy.
More Information
You can find the SSL certificate installation manual here.
Important info: Let’s Encrypt certificates expire after 90 days.
Tip
There could be a case where the certificate is valid, but it may still show your connection is not secure when you click the padlock icon. The possible reason is:
- The on page urls for links, images, scripts etc. could be “http”. Modify them to “https” and it should resolve the issue.
If you face any issues, do comment, will do my best to help you.